underway

This past month has been busy in the shop getting things ready for the West Coast Craft and Design show in San Francisco and getting the ball rolling on a new commission. So, the show was amazing, met some great people and had a blast cruising around SF with Haley... but now back to work. Crummy pic quality but....


Haley and I at West Coast Craft 

Haley and I at West Coast Craft
 

It's been a while since I've done a process blog on a build but this is special piece commissioned by someone very close to Haley and I... I'll try and give some updates along the way.

Now that design and wood selection have been settled on, before I left for SF I begun work on the building the substrates. I guess this would be a good time to mention that it is a jewelery cabinet on a stand. The outside of the cabinet will be Koa, while the inside will be Boxwood. We also decided Wenge would be a good compliment for the stand.

Below, substrates on the right made from poplar, cross-banded, and flattened. On the right, Koa veneers fresh of the bandsaw.

w.jpg


After the panels came out of the vacuum press it was onto flattening and applying edge banding. And to whoever cares....boxwood has to be one of the nicest woods to plane!

a.jpg
ss.jpg

Joinery

After the parts were rough milled they had the weekend to sit in the shop and settle. Monday morning saw all the parts getting milled for the leg and stretcher assembly to their final dimension. From there, the layout for the joinery began. Technically, the joint that connects the leg to the stretcher is the most complicated part of the build, nailing the angles is key to a perfect fit and a good looking joint.

Here is a look at the joint in the dry fit stage. I'll just go over how the angled part is executed and spare you the rest:) The legs are kicked out at 4.5 degrees, so that amount is subtracted from the vertical shoulder on the leg and added to the the haunched (small angle) portion of the leg.  The easiest way I've found to do this is to set the table saw at 45 and leave it; you will have to come back to it multiple times for this joint and it's easier to add or remove a shim than trying to exact the blade angle over and over. The small 45 angle on the legs are cut first, and then the shoulders are cut (I use the bandsaw ... straight and simple cut). At this point I then cut the angles on all the leg ends and stretcher ends. I save all the off cuts, this is how you make the shims to set up for the small angle cut in the stretcher. Also, the off cuts are used to make a sled to rest the legs on when cutting the mortise and tenon on the bandsaw.DSC_1392

The table saw is still set at the same 45, but in order for the small angle to fit on the inside curve you have to subtract 4.5 degrees from the stretcher by using an angled shim (shown with the blue tape on it in the pic).

DSC_1380

Now that all the angled cuts are out of the way, and I know the joint will come together, I just want to clean up the machine marks on all the cuts. For the tenons I like to make the cut from the machine a shade too snug and clean them up with shoulder plane, as seen below.

photo(29)

Here, I am using a chopping block and a plane iron to make sure each stretcher has a perfect shoulder.

DSC_1396

From here the legs get their shape roughed out on the bandsaw. I will come back and do all the shaping after the legs are glued to the stretcher. Blue tape just makes the pencil mark easier to see.

DSC_1399

This is a look at the joint after glue up and before all the flushing and shaping gets started.

DSC_1367

From here, the sides of the leg and stretcher assembly get flushed and smoothed and ready for shaping.

DSC_1370

Cheers

It has been a while since I have done a process blog on a build, so I thought this would be a good time to throw one in. This past year I've had the opportunity to be creative and just build a few portfolio pieces...very enjoyable. I designed and built a coffee table you might be familiar with this past summer with a western maple top and Burmese teak base. My initial intention was to not reproduce it, but recently I was asked by a client to do so and agreed. Mainly, because I knew I had the remaining slab of maple, which would allow an almost identical match in color and grain pattern. This process blog will probably only include a few post along the way, being that it is not a terribly in depth project, but nonetheless, equally as enjoyable and important.

For myself, the material and tools are a huge part of why I love to create. I always try selecting the best wood I can, paying close attention to color and grain patterns to best compliment the piece. For this build the western maple for the top was sourced from our local urban forestry mill at the community college. More than likely from a tree that was fallen due to disease, storm damage, etc. Teak on the other hand is harder to come by, but I did take my time to source FSC wood and hand select the best I could find.

On to the build


Really happy with my finds, the build began with milling up the parts for the base. Cutting for the grain, to some this is a waste of wood, but like I was taught, it is better to get one perfect leg than four "ok' legs. This being said, I was able to get all the rift-sawn parts for the base and manage to not "waste" that much material. "Rift" meaning the end grain pattern is diagonal, producing straight grain on all for sides of the leg.

Rough sawn and stickered...breathing on all four sides.

I had to wait a few more days to get these guys down to final size; we had three of our seven rainy days a year here in San Diego in a row, sending all my wood into a bending frenzy in the shop!

From here it's on to joinery...until next time.

Cheers.


Autumn

Lighting was never on any list of things to build, but when it became a need, a lamp seemed like the right thing to work on. This floor lamp surprised me on how fun it was to build, not only in the construction, but also the design. It begun with Haley and I sitting in our living room one evening when we both mentioned how we could really use a lamp, as the days were getting shorter.  A little on-line research about parts, a few drawings, and a couple weeks later... we had solved are lighting issue. The main concept came from the classic tripod floor lamp, then evolved into this quad pod, partly because I thought joining four legs at the top would be easier than three? I think I was a little right and wrong...the top ended up being a four-way, angled bridal joint, with a half lap in the middle to make the cross, sorry if I lost some of you on that, there is a pic below of what I am describing.

Another fun detail was hiding the cord in one of the legs. Every tripod floor lamp I have seen, the cord always dangles down the center or disturbingly gets wrapped around one leg.

I was able to source all the parts from the States, which did take more time, but I was happy to do. In the end, I paid a bit more for the parts, but I am very pleased with the quality. The lamp hardware and cord was sourced from an east coast dealer who had this sweet nickel-plated brass socket, with a dimmer and some of that old school cloth cord.

 In the pic below, is a look at the middle cross bridge. It's hard to tell in the photo, but I put a slight arch in the bottom of the cross to give something that could end up looking clunky, a bit of lift.

Lastly, a the burlap lamp shade.

The 'Autumn' floor lamp is the only piece in my collection of work up to know, that I am reproducing and taking orders. If you would like to have one in your home, they are hand-made to order, one at a time.

Materials:

Walnut/Burlap/Nickel plated brass

A bit more about us, as a team. Haley is my best friend, and most of all, she believes in me and the my work. I do have a unique opportunity and that is to just create work in this short season of our life. I do have a side job (that has nothing to do with woodworking, and that is a good thing) but I still manage to get about four good days in the shop a week. I know most woodworkers don't have this opportunity and I feel very fortunate, so not only do I get to work on my portfolio, but I also get to stock our house with things we need and will cherish forever. Instead of selling my portfolio off, or at least having them "for sale" they are pieces we can add to our home.

In the middle of me starting a new business, Haley decided she wanted to go back to school to get her BSN for nursing, all online. Well, here was a good opportunity to create something we need and make something especially for her.

The top is a piece of spalted mystery oak given to me by a close friend. I am not usually one for leaving a live edge but the hard lines in the base seemed to contrast well with the organic edge.


Matching shelves and done.


The chair was salvaged from an old church in El Campo Texas.


I was in the wood room at my old school and saw this piece of maple that was an off-cut from a 18 foot, straight, clean board. The piece was being trashed because of the large crack running through the middle. Seemed like a nice coffee table top to me. And in case you are wondering there are bow ties on the underside to keep the crack from spreading.

Burmese Teak base

I have been wanting to try this joint for a while. I'm not sure what it is called, but it is a through mortise and tenon with small haunch on the inside curve that corresponds to the angle in the leg.

Reflection

I like to think about the tree that I am making a piece from, wondering what kind of life it had?  Was the grain curved because it spent its life stretching a bit to the left or right, every evening, to get that last hour sun. This log grew perfectly for the coffee table I needed to make, and I acquired it not just by being in the right place at the right time, it was a good gift.

If you remember this walnut log I featured in the first post of this blog, (if not just scroll down;). This is what that old tree got finally got to be...

Enjoy

Good Grinds

Well, things have been a fairly busy, so I thought I'd take a break and share a bit of whats been going on in the shop. Haley and I had a great trip up to British Columbia at the beginning of May to attend the student/faculty/alumni exhibition for Inside Passage School of Fine Cabinetmaking. It was good to see some old classmates, meet new friends and share in each others work. I took the coffee table I had been working on since the last post, it will also be in the design in wood show in Del Mar California starting this week. I'll post pics of the table as soon as I get them back. After we returned from the BC, I started in on a small commission for a good friend back in Houston. He had an old coffee grinder that worked great, but the box it was in, was falling apart. I thought It would be a good break from the table build...doing something small, that didn't lack detail, but presented a lot less difficulty. I was able to use wood that was off-cuts from other projects, I like that, it feels a bit like a little life from other pieces is passed on to the next.

Here is what we started with,

These old boxes always have a way to get the grinder out, by chance the box fails, usually by screwing on the bottom. I didn't like the idea of not gluing the whole piece together and thought about the idea of just pressure fitting the back in. In the end, I decided to do a complete glue-up. Besides, I believe part of what allows these old boxes to fail..despite poor construction, is the fact that they are not one complete unit. So if the day ever comes (which it shouldn't) that the grinder fails, they will just have to use it for a nice little box with a drawer ... with a coffee grinder sticking out the top.

The drawer sides are from some left over Euro Sycamore and the pull... well that's the only thing not from scrap, it's Wenge.

I initially thought the old hardware might need to be replaced, but you just can't find ones that look like these anymore. I also liked the thought of some more old with the new.

Getting started

Welcome

Thanks for joining me in this first post to a new blog, a new business, and next phase of life for my family and I. We are very grateful for my position, being able to transition into a new shop and begin to see a dream come into reality, and enjoying the process of not being where my imagination is.  Even the new and exciting does come with its fair share of challenges, as we are still getting settled in our new city, and technically we don't even have a city yet. Part of this decision to move here came with the gift a being able to live with a family that opened its doors to allow us the opportunity to get on our feet...and that is working, I feel a place of our own is in the near future.

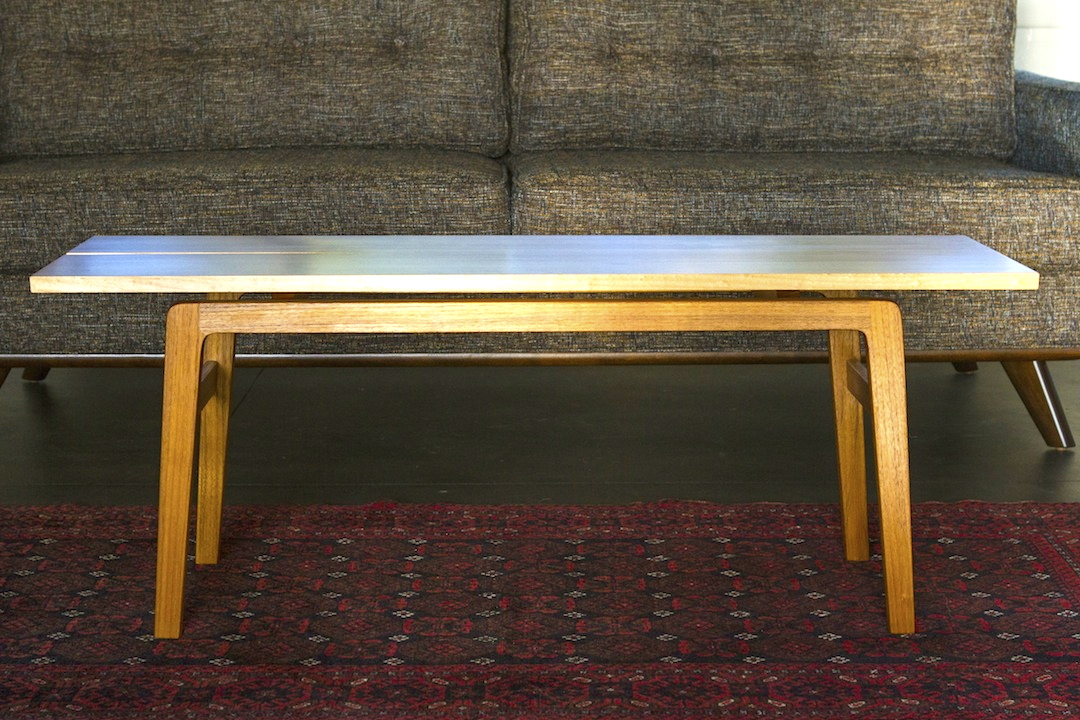
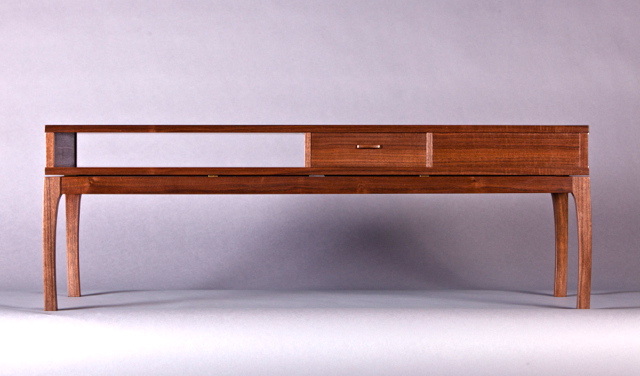
Onto the work....after spending the first month getting things into place in the shop, I finally felt comfortable starting a new project, I began thinking about a coffee table idea that had been floating around in my head for a while. No fancy drawings, no graph paper or even measurements. I don't  work well that way. Just a basic sketch, a little time spent mocking it up...usually out of cardboard or poplar just to dial in proportions, then start the build. When I don't go in with a certain agenda I can let the build evolve, letting the wood or piece just speak for itself.

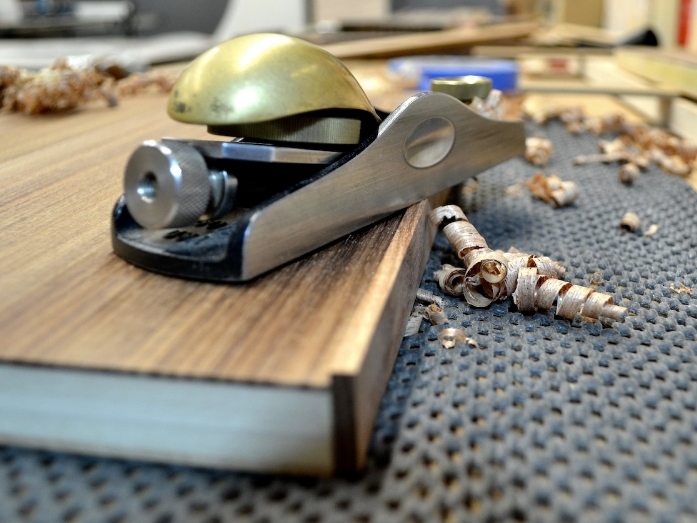
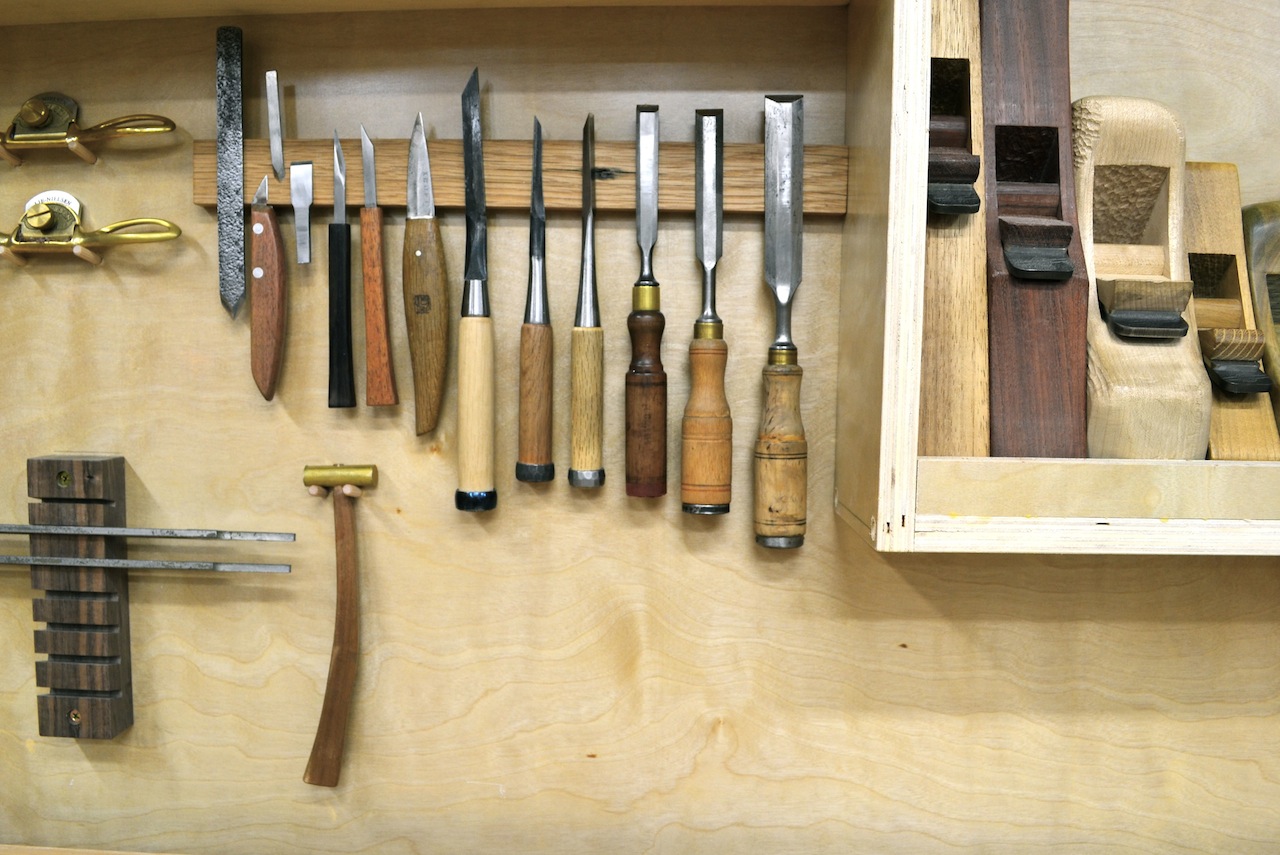
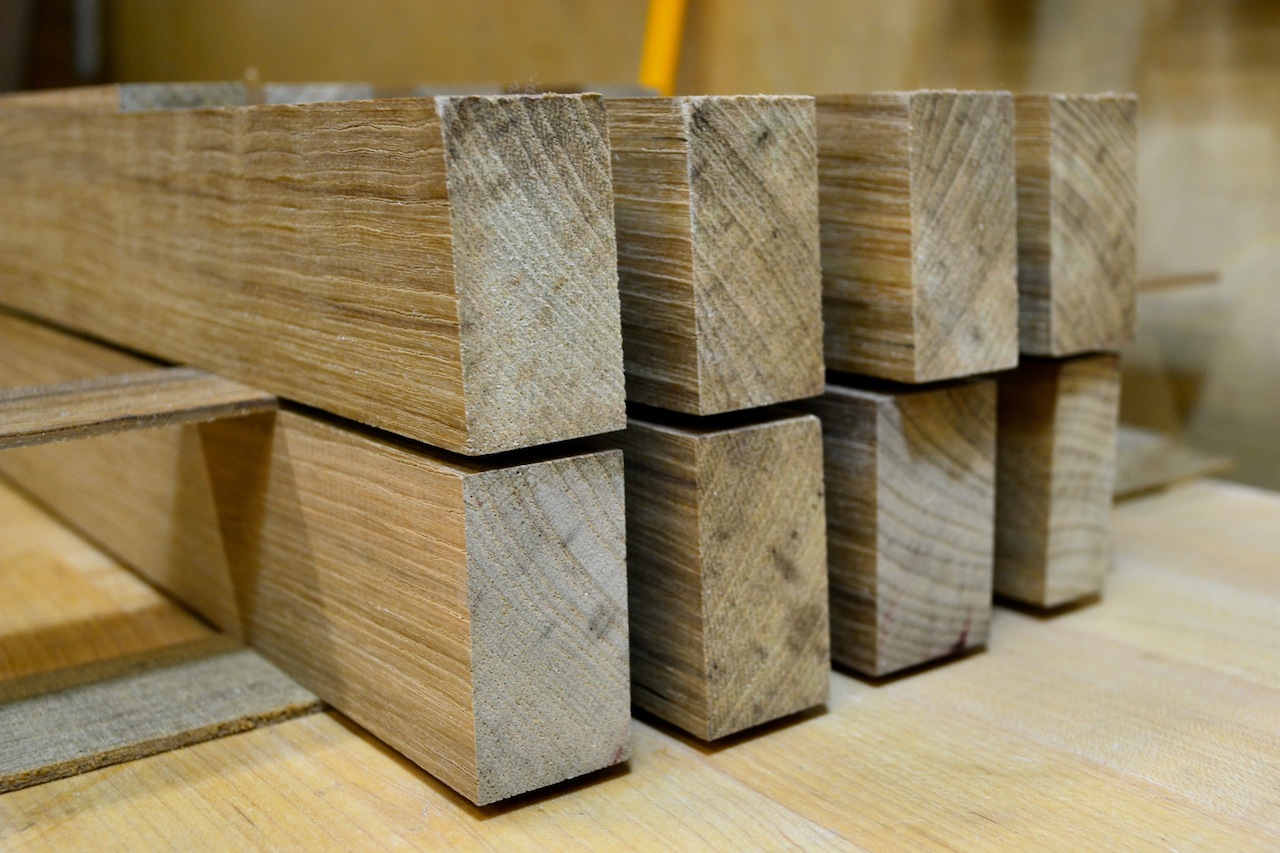
The coffee table idea is the sketch that I put as the header for this blog, which has changed a little, due to the material. I was blessed with a slab of walnut that had perfect clean grain and a slight curve...it would fit perfect for my design, I like that, when the grain helps decide the shape. I was fortunate to be able to help mill this log up, when we lifted the first piece off, we were able to see the grain, I knew it would work perfect. Up to that point, I was reluctantly going to put this idea on hold, waiting to find that perfect piece of wood for the project. I didn't have too and I am now about half way through the build. I really enjoy working with walnut, it hand planes beautifully and doesn't abuse my tools, leaving a blade edge sharp, for multiple finish passes.

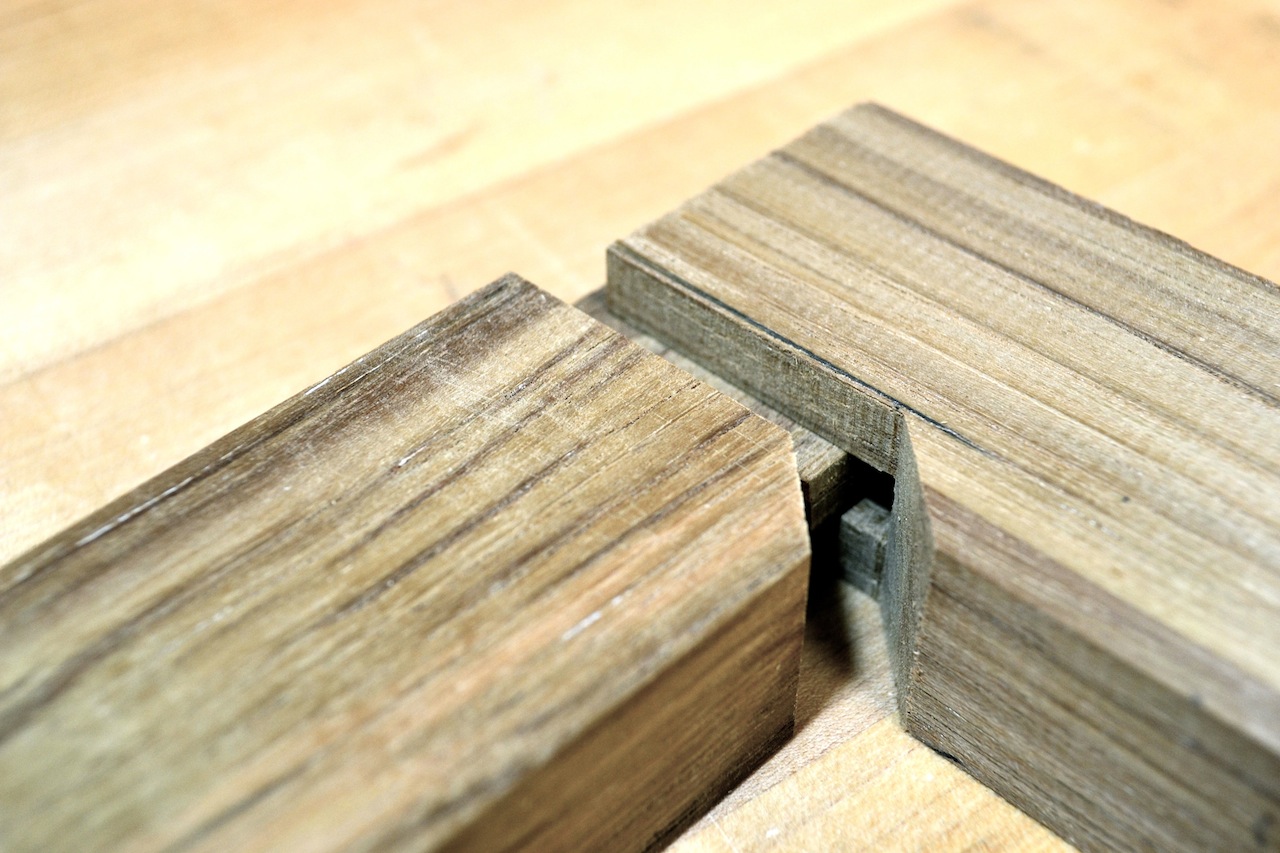
This coffee table is shop sawn veneer construction with shop made substrate, a solid walnut base, and brass hardware. Two curved front drawers with hand cut dovetails. It has been a challenging build so far, having subtle curves on all sides has proven time consuming. Also, it is taking many hours from my sleep, when I wake up in the middle of the night my mind drifts immediately to the build. In school they used to say "curves triple the time for the build", that is true.

I'll leave you with a before pic of the Walnut log that slowly turning into a coffee table...