

It was great to get back to work on the koa cabinet this past week. I left off with putting the last bit of faring on the front curve before applying the edge banding.
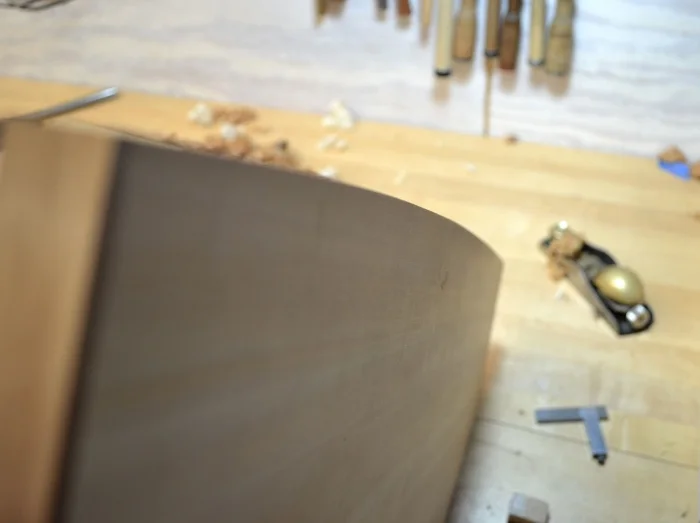
Gluing on the front edge banding was pretty straight forward since the curve is so subtle, just a lot clamps and some small angled calls on the back side.

With the all the edge banding done and the doors coopered (to a touch over sized) I was able to move to the interior. This is a process that I really enjoy, kinda like designing a puzzle, making the parts and then getting to put the whole thing together. After going over a few different layouts and deciding on one I liked (eleven drawers total) I was ready to get under way on all the parts.
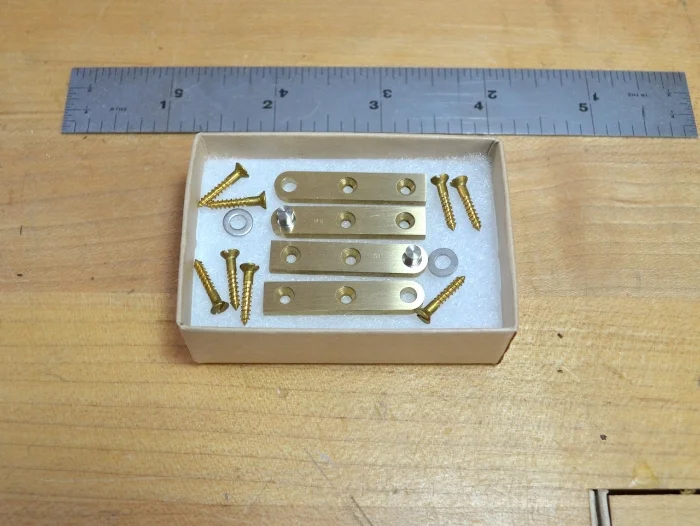
With all these parts starting to pile up after the interiors were completed , I shifted gears to the mortises for the knife hinges. Side note...for any of you that are looking for a better alternative to the commercial knife hinges available, I would have to say these hinges that Bob Sanderson puts out from his shop in Fort Bragg Ca. are some of the best, always precise look so sharp!
With the cabinet dry fit, using a shim, I locate the placement of all four hinges, mark the layout and start chopping.
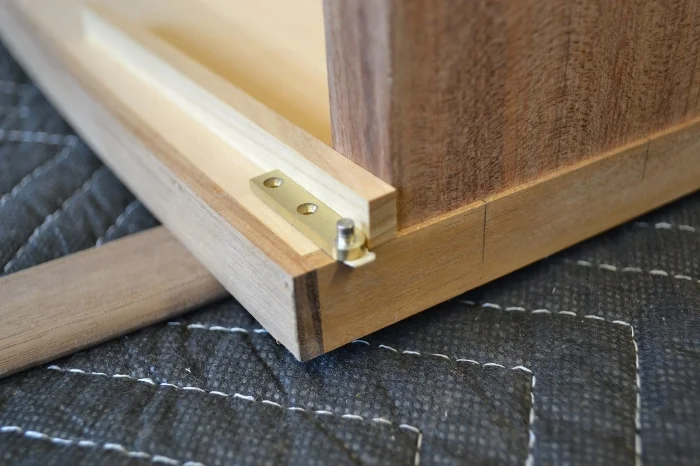
Any time to turn the machines off and sit at your bench is a good time... Just some hand tools and a little patience and these hinges went right in.

Well that wraps it up for the post...top, bottom, sides, partitions and doors! Next, final fitting of all these interior parts and slowly gluing this thing together!
