

After the parts were rough milled they had the weekend to sit in the shop and settle. Monday morning saw all the parts getting milled for the leg and stretcher assembly to their final dimension. From there, the layout for the joinery began. Technically, the joint that connects the leg to the stretcher is the most complicated part of the build, nailing the angles is key to a perfect fit and a good looking joint.
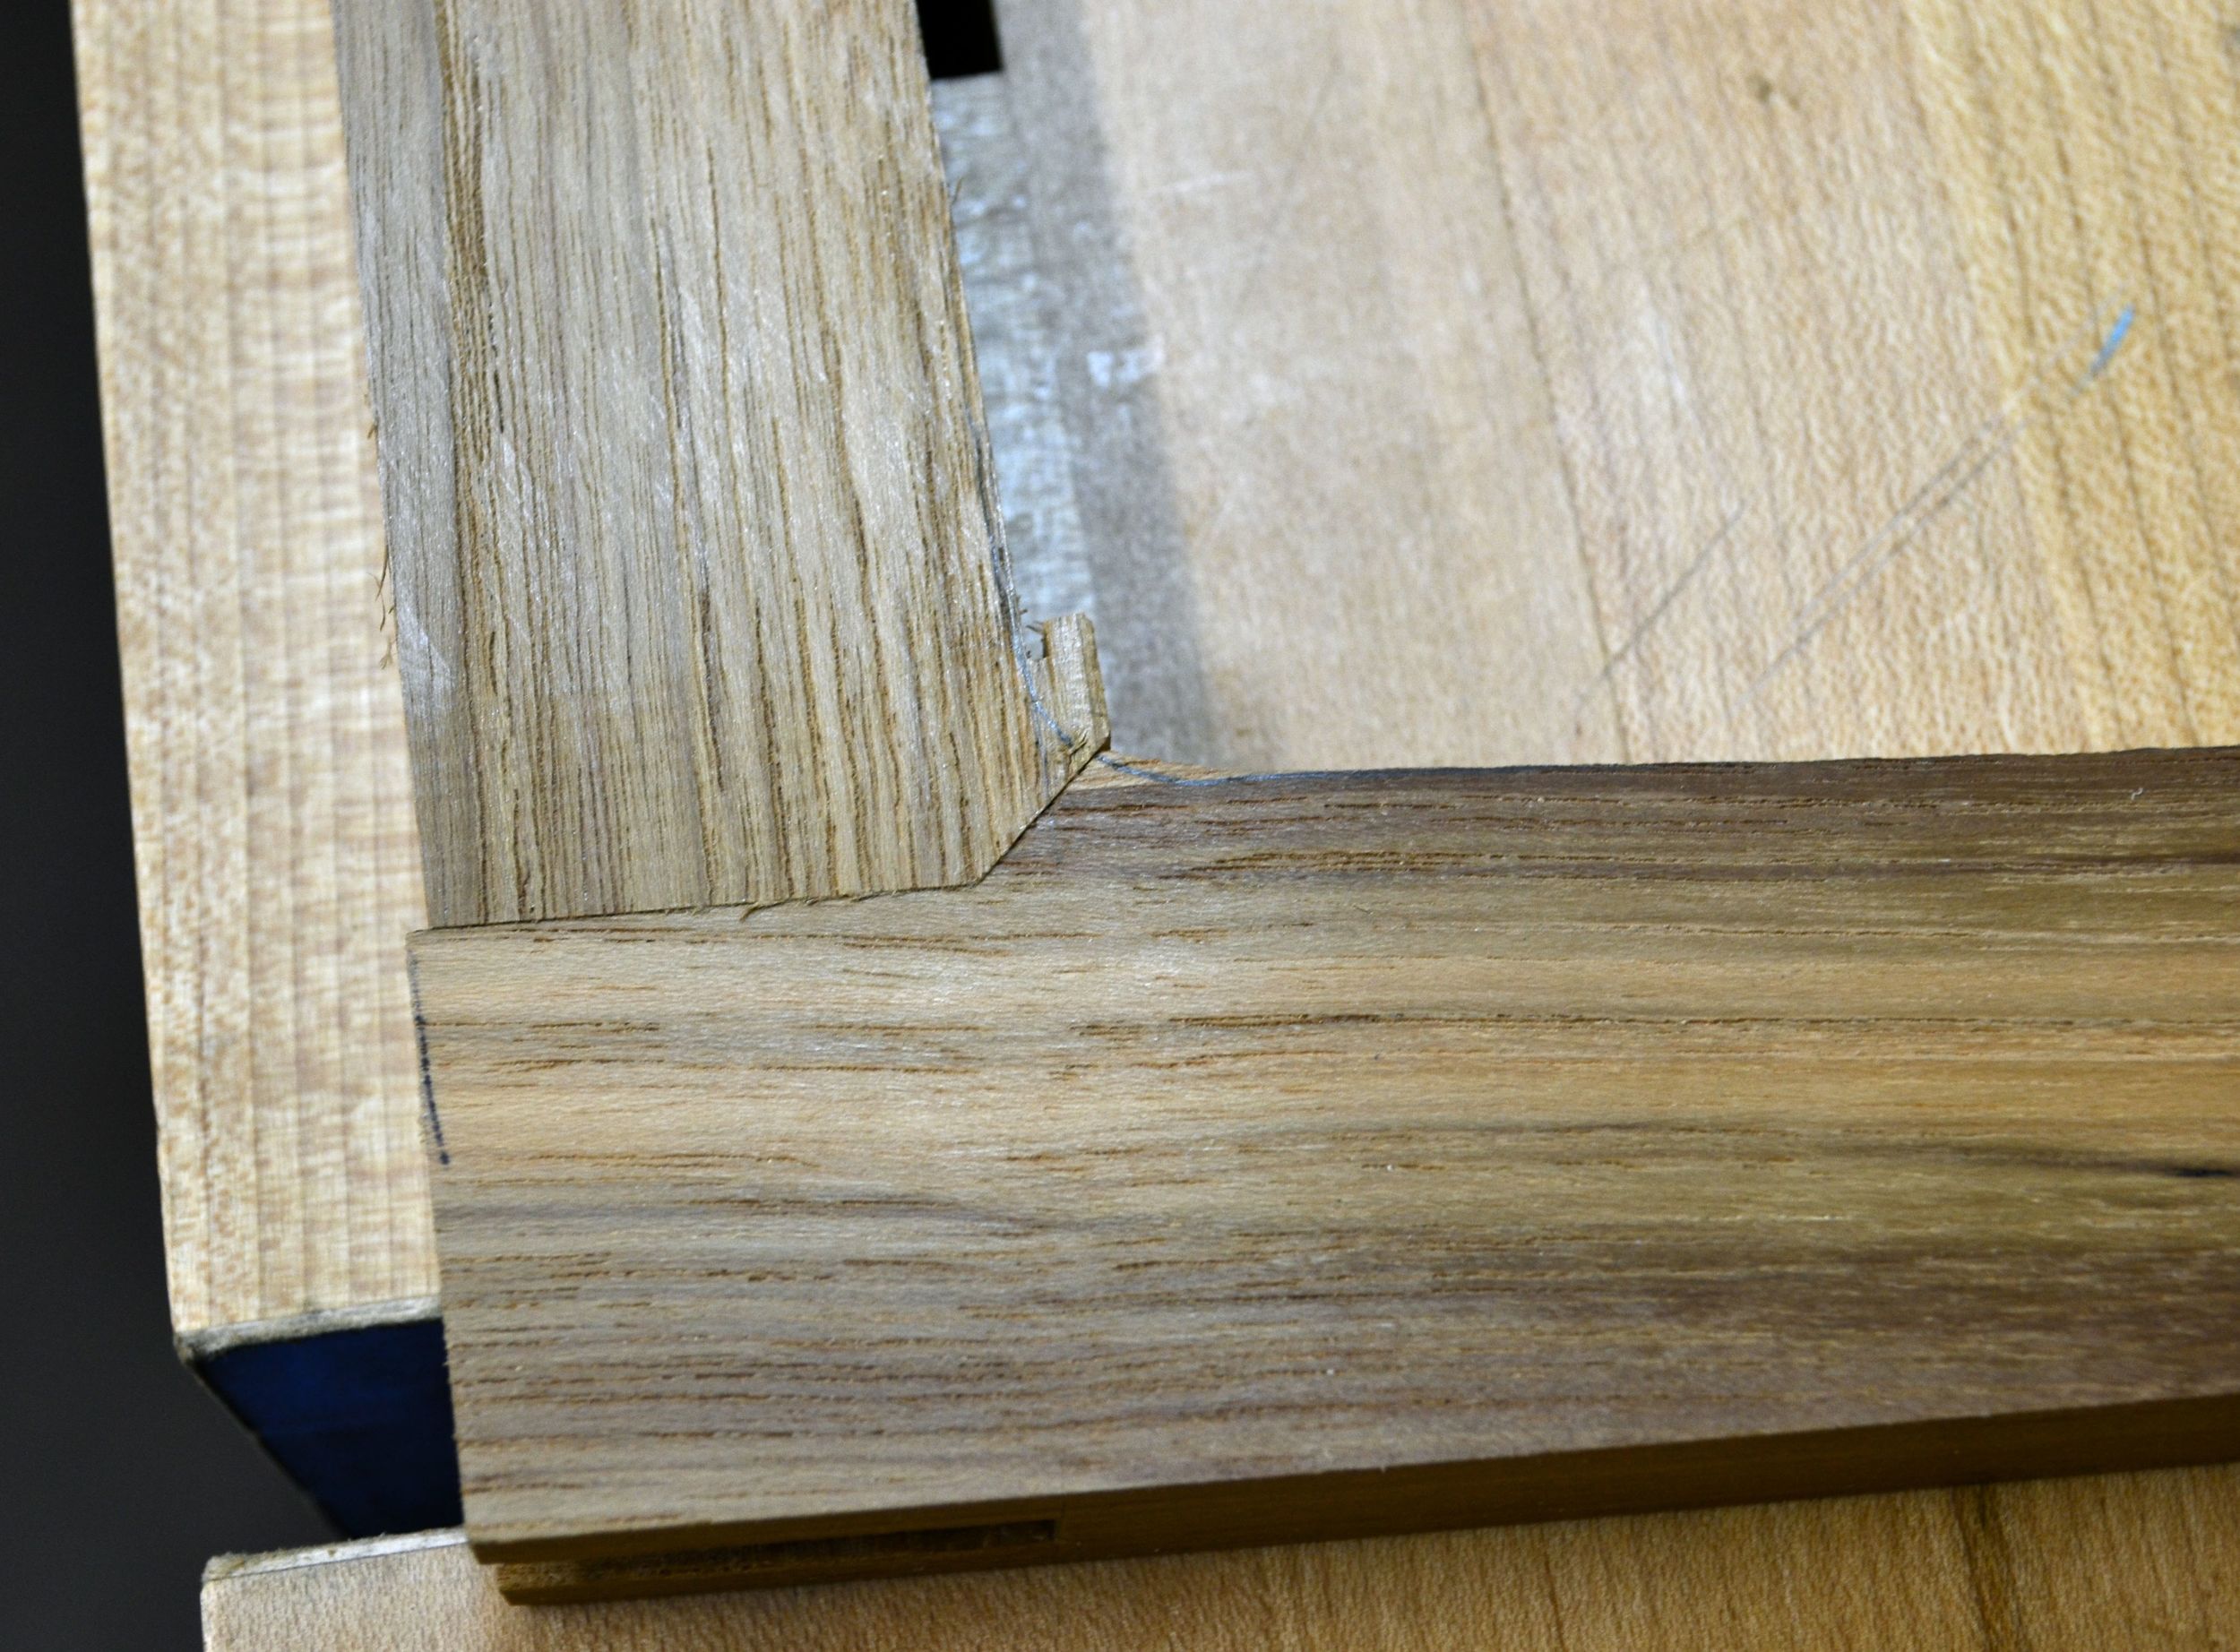
Here is a look at the joint in the dry fit stage. I'll just go over how the angled part is executed and spare you the rest:) The legs are kicked out at 4.5 degrees, so that amount is subtracted from the vertical shoulder on the leg and added to the the haunched (small angle) portion of the leg. The easiest way I've found to do this is to set the table saw at 45 and leave it; you will have to come back to it multiple times for this joint and it's easier to add or remove a shim than trying to exact the blade angle over and over. The small 45 angle on the legs are cut first, and then the shoulders are cut (I use the bandsaw ... straight and simple cut). At this point I then cut the angles on all the leg ends and stretcher ends. I save all the off cuts, this is how you make the shims to set up for the small angle cut in the stretcher. Also, the off cuts are used to make a sled to rest the legs on when cutting the mortise and tenon on the bandsaw.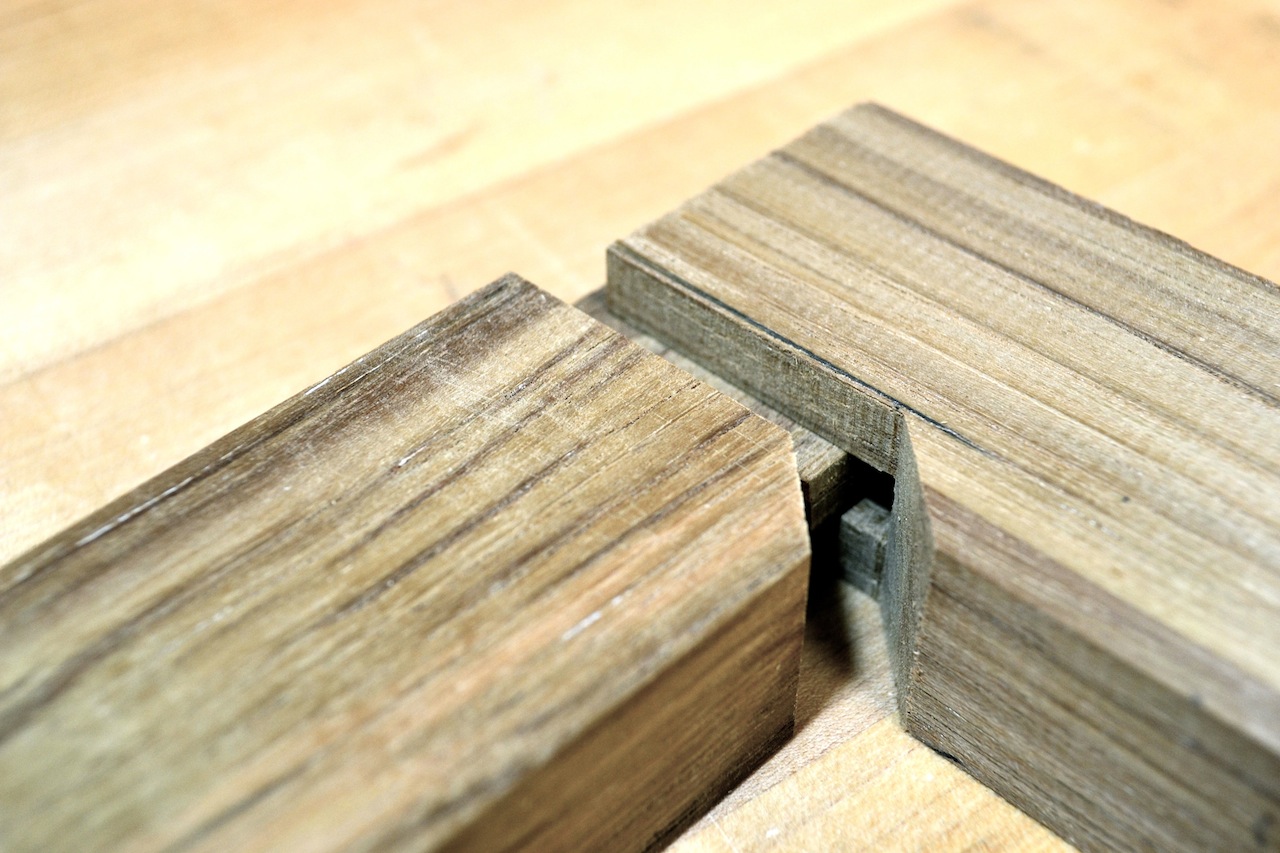
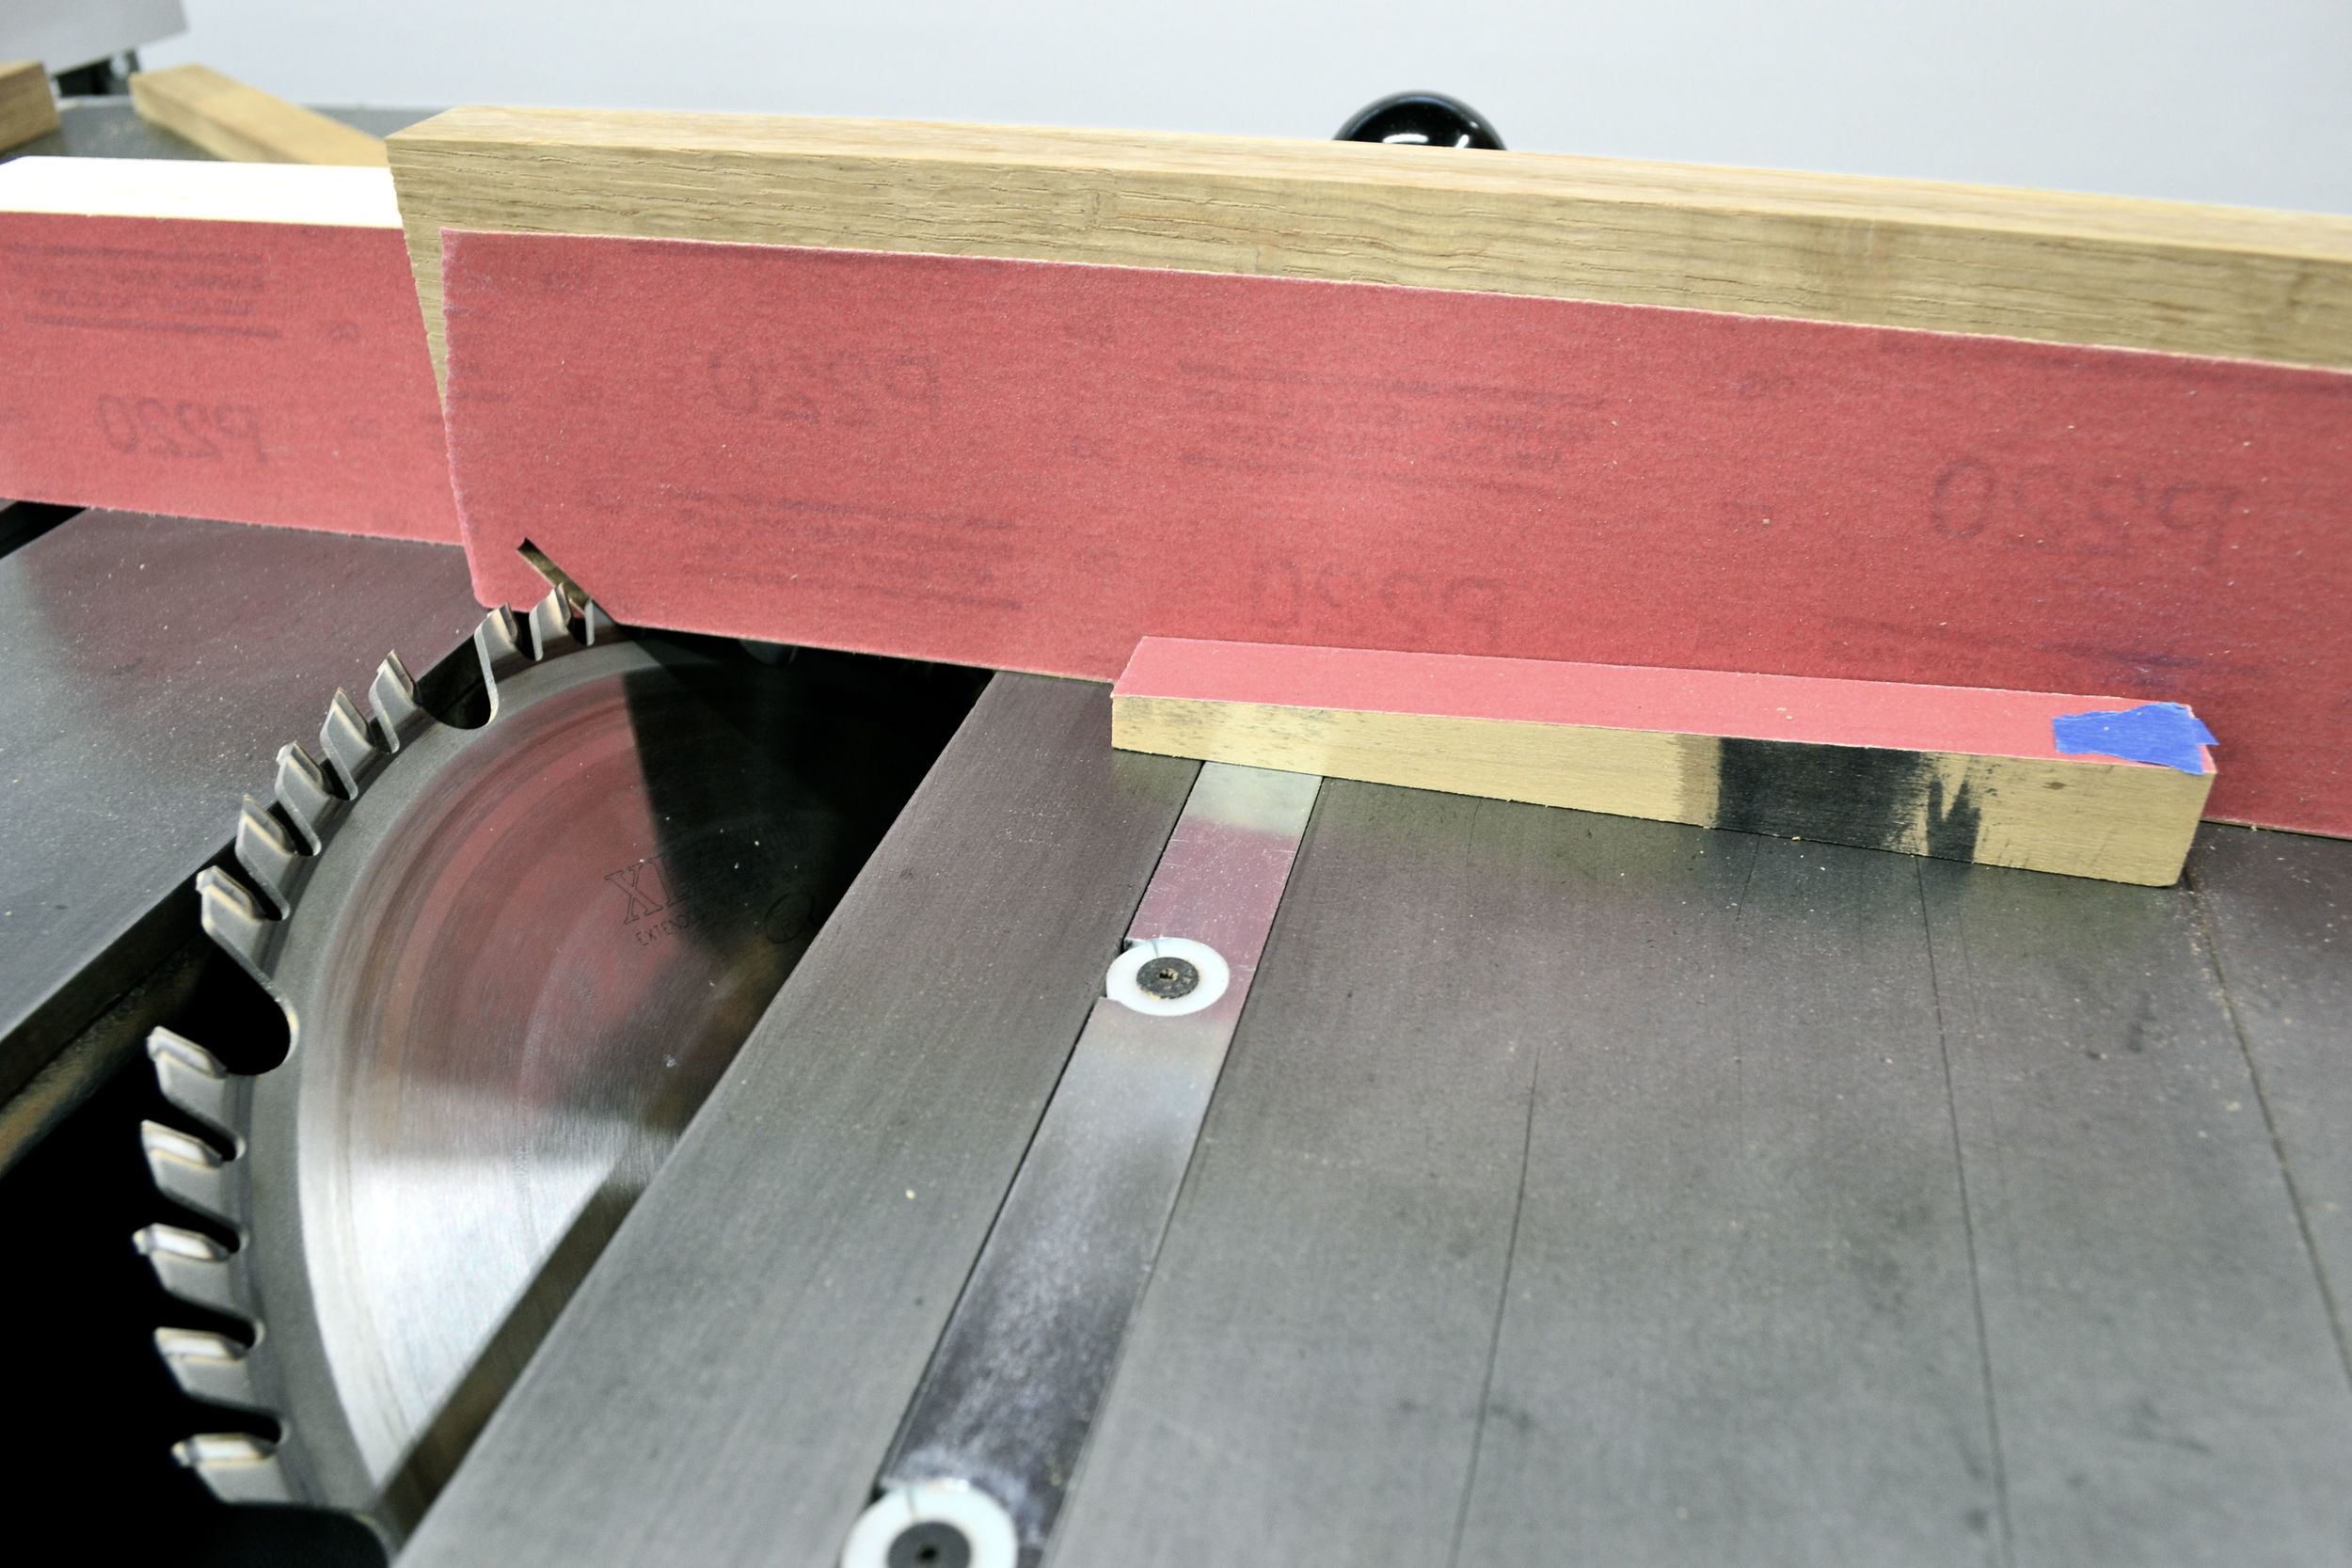
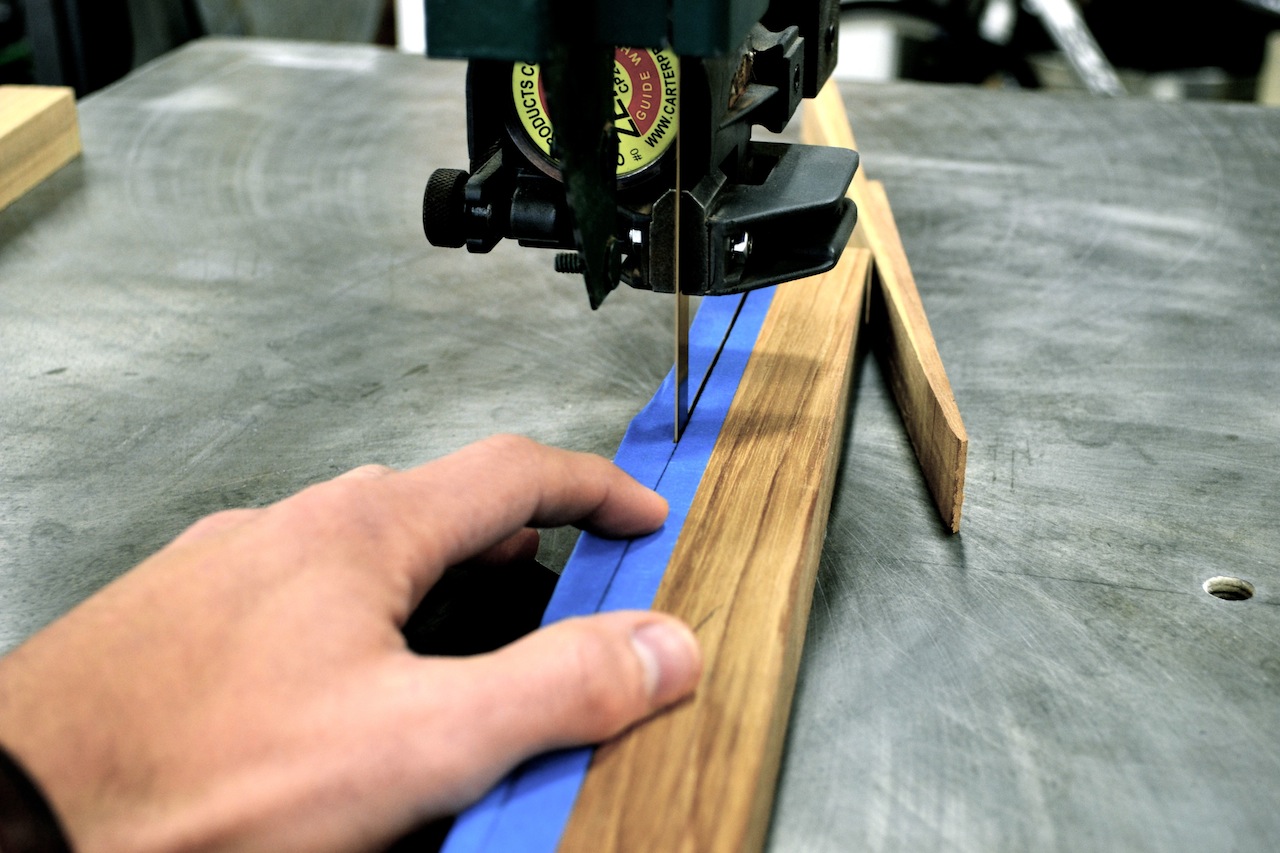
The table saw is still set at the same 45, but in order for the small angle to fit on the inside curve you have to subtract 4.5 degrees from the stretcher by using an angled shim (shown with the blue tape on it in the pic).
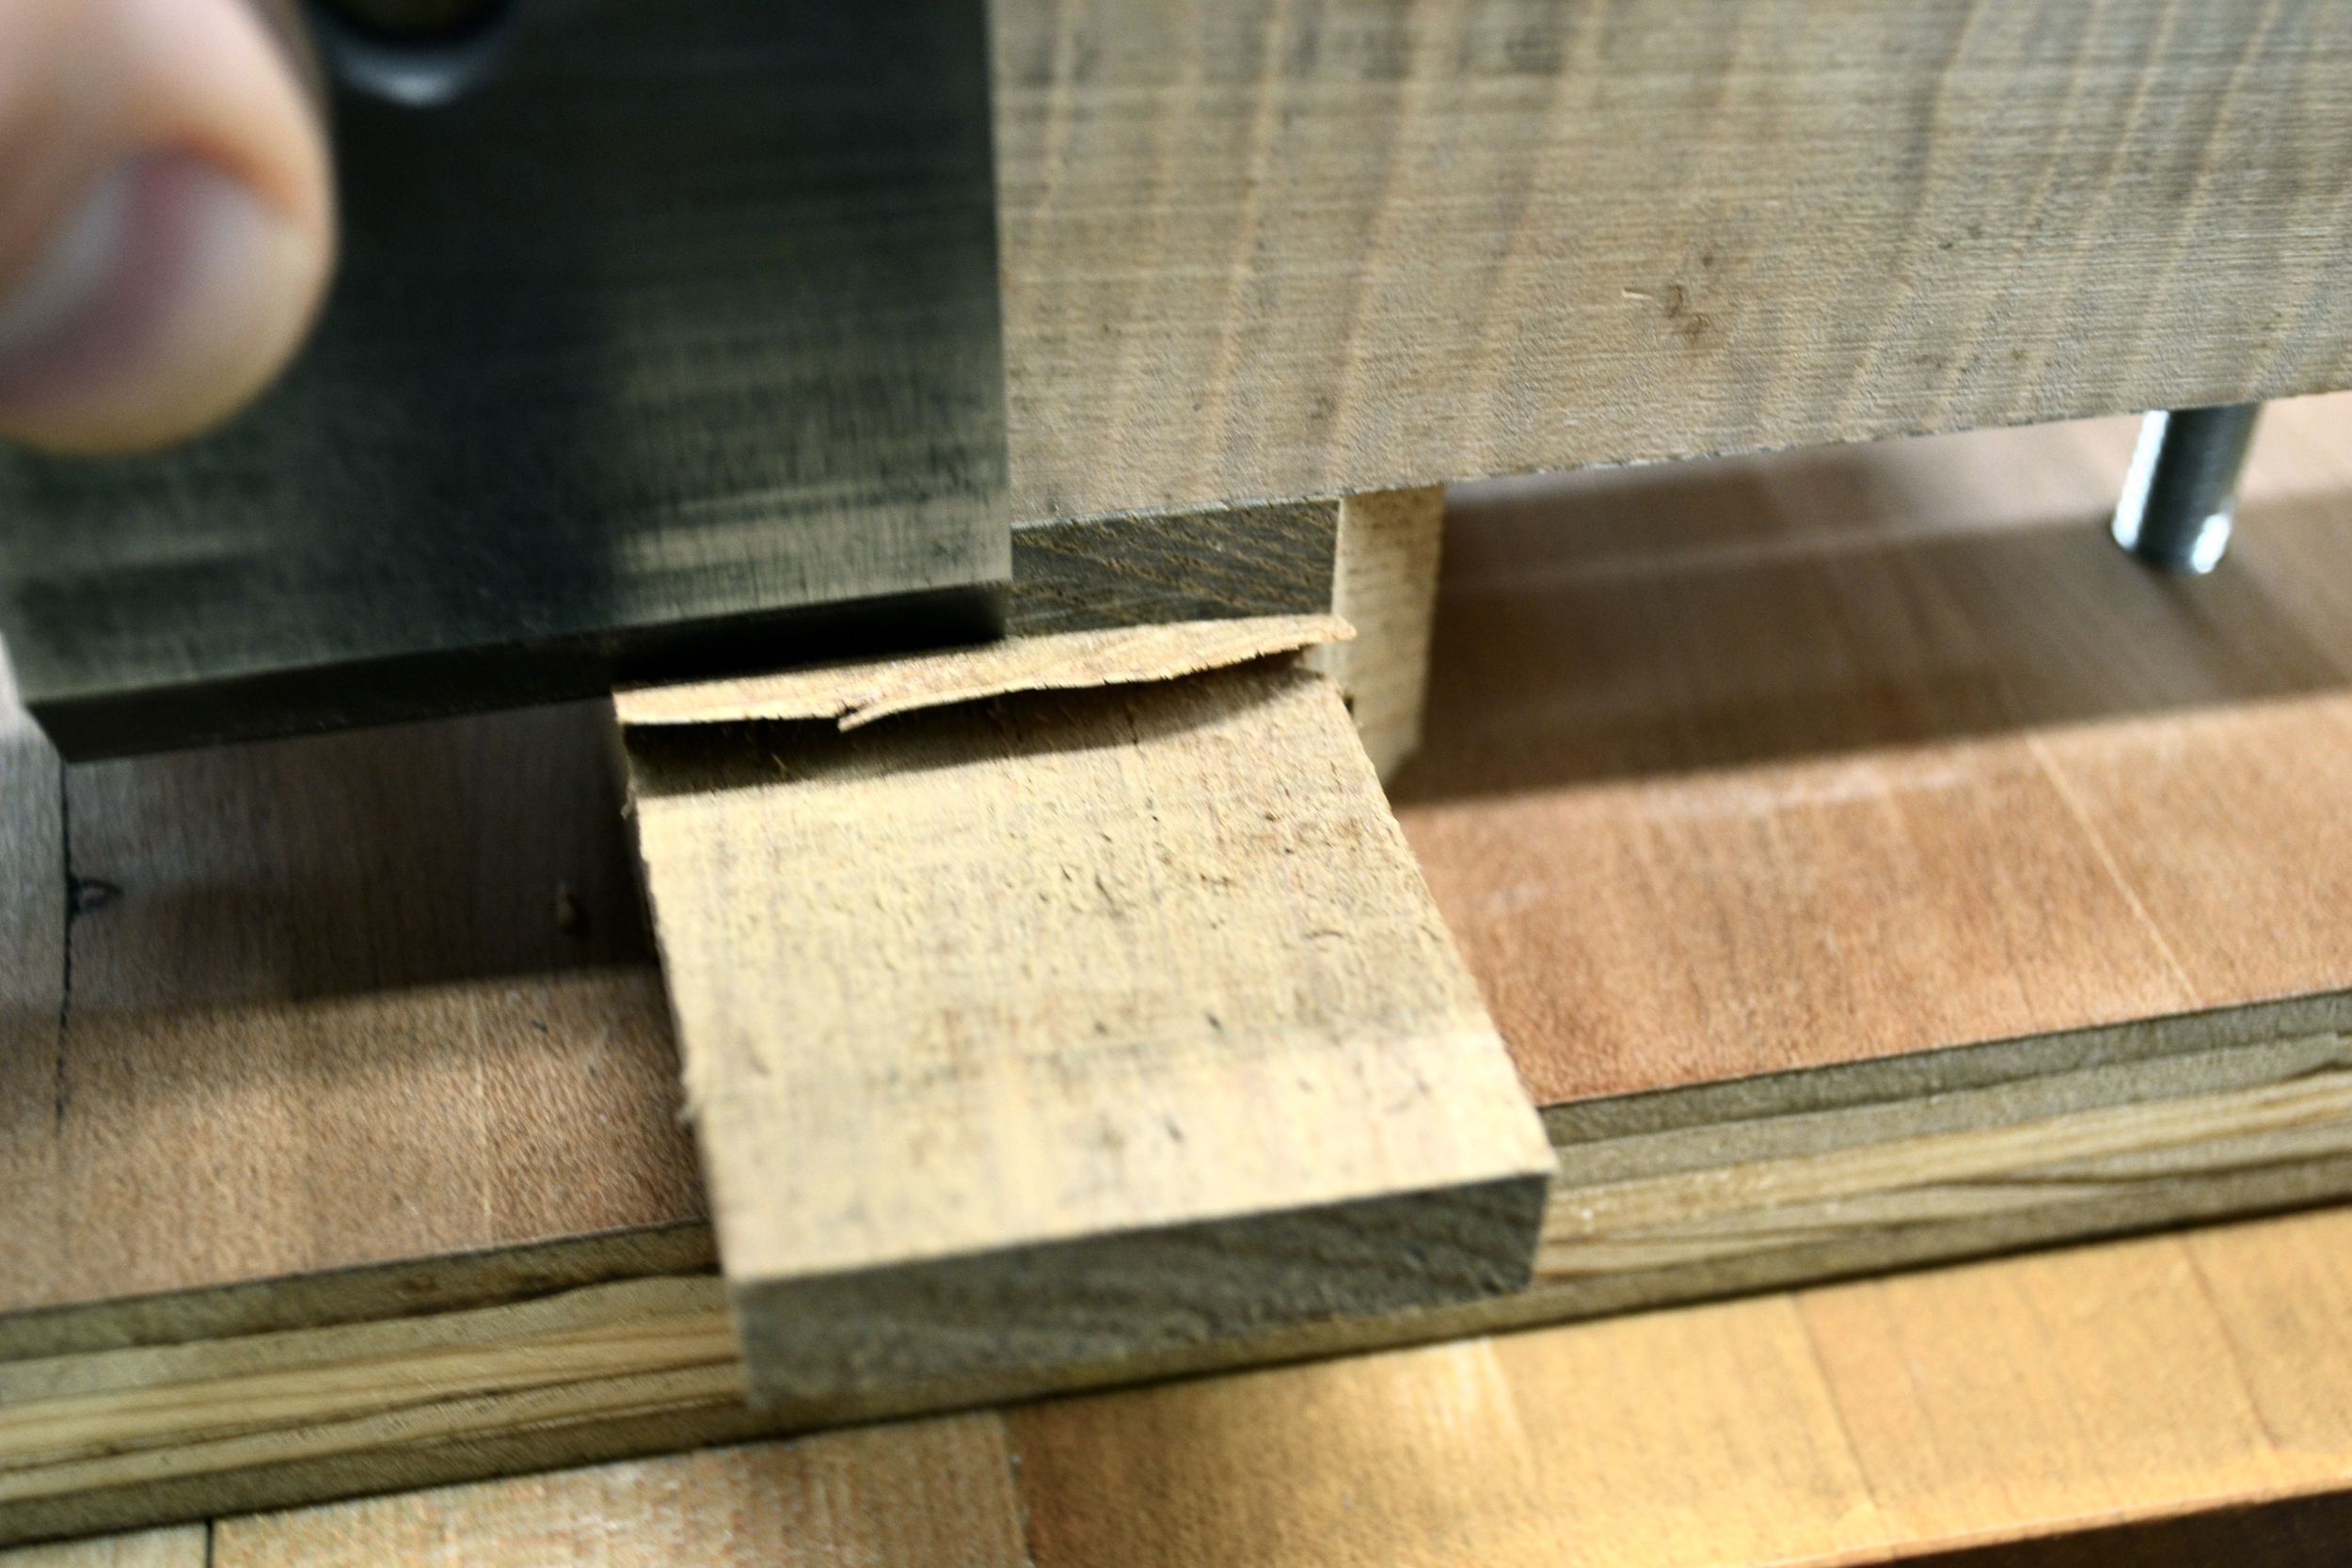
Now that all the angled cuts are out of the way, and I know the joint will come together, I just want to clean up the machine marks on all the cuts. For the tenons I like to make the cut from the machine a shade too snug and clean them up with shoulder plane, as seen below.
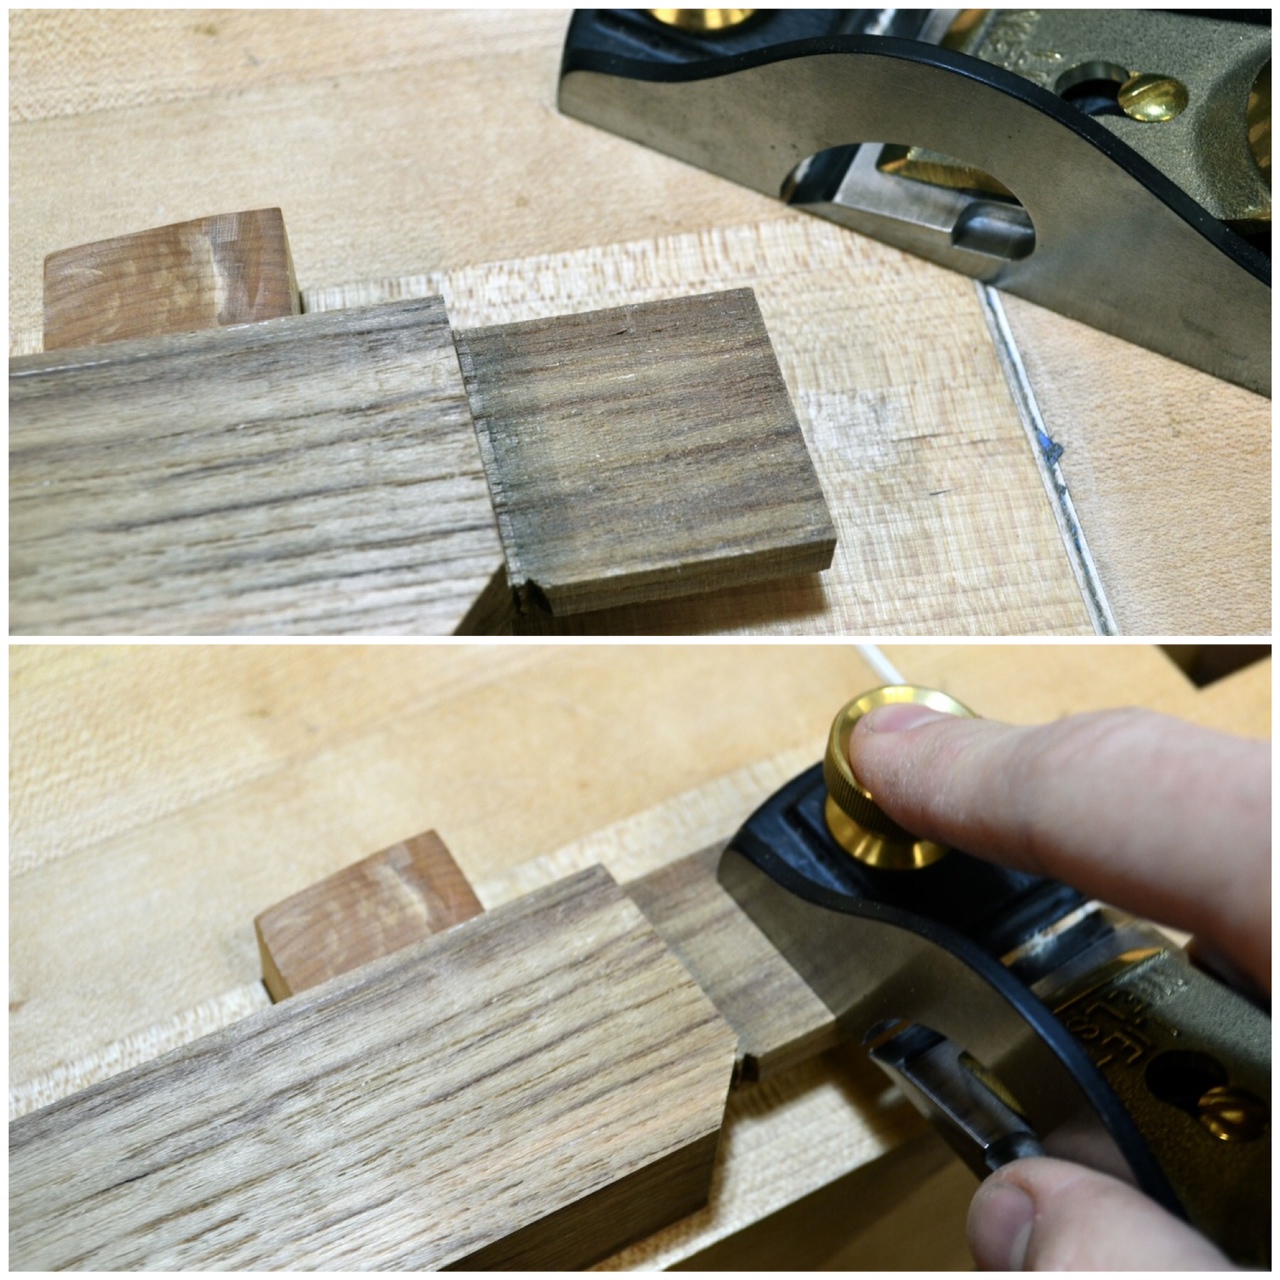
Here, I am using a chopping block and a plane iron to make sure each stretcher has a perfect shoulder.
From here the legs get their shape roughed out on the bandsaw. I will come back and do all the shaping after the legs are glued to the stretcher. Blue tape just makes the pencil mark easier to see.
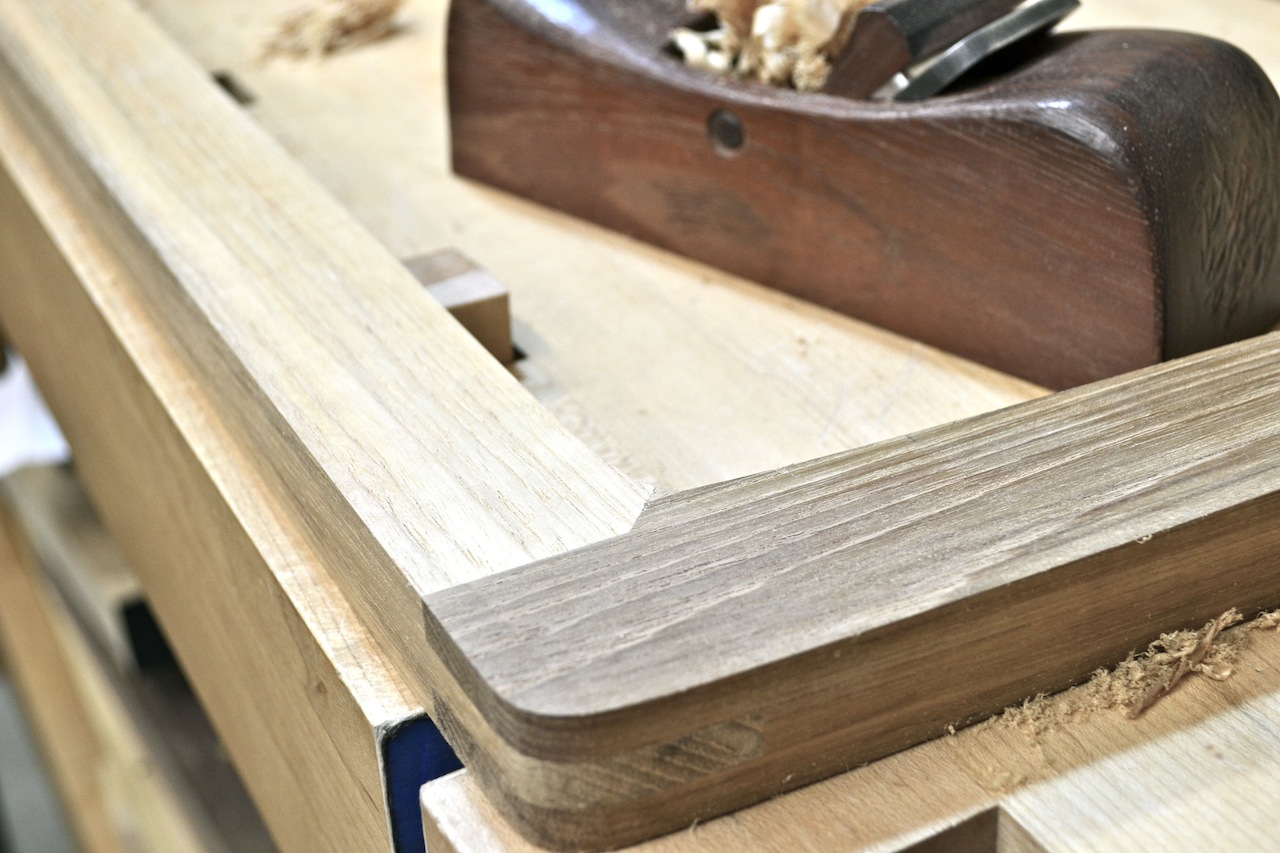
This is a look at the joint after glue up and before all the flushing and shaping gets started.
From here, the sides of the leg and stretcher assembly get flushed and smoothed and ready for shaping.
Cheers